
|
|
|
#16
 07-25-2009, 05:20 PM
|
||||
|
||||
|
Quote:

|
|
#17
07-26-2009, 11:22 PM
|
||||
|
||||
|
15X vs 15DX
I had been wondering what differences there are between the 15X and 15DX that would account for the $100 difference in the original price.
It never occurring to me it was the physical size until I saw this picture. My 15DX is 4' tall and comes up to just below my chest (I'm 5'11"). So unless Ron is a giant, the 15X looks to be a little over 3' tall. Last edited by bandersen; 07-26-2009 at 11:27 PM.
|
|
#18
08-01-2009, 09:42 PM
|
||||
|
||||
|
Solid state 80
I picked up the last #44 I needed, a set of NOS ST style 42s, 3 used 42 globes and a Philco globe 80
 it took quite a while. it took quite a while. Here's a picture with the original back in place. 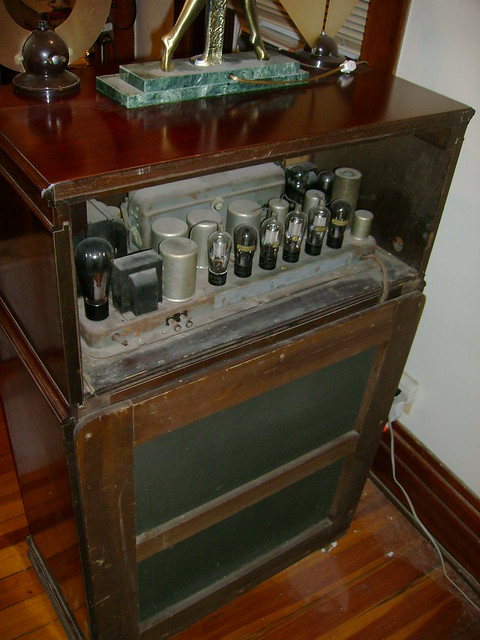
Last edited by bandersen; 06-19-2011 at 09:01 PM.
|
|
#19
06-19-2011, 05:35 PM
|
||||
|
||||
|
I managed to patch in some new quarter cut veneer on the top and refinish it. I think it turned out alright
 I carefully stripped of the old finish with out harming the surrounding trim. 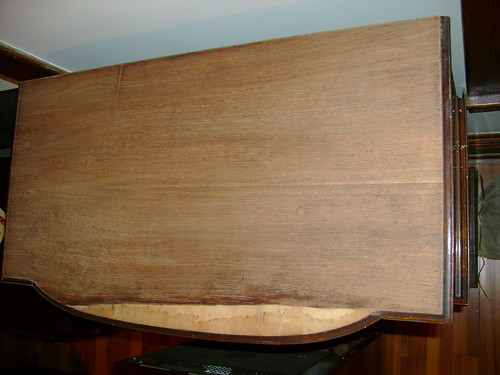 Then, I trimmed it back until I had a clean, straight edge to work with. I also used wood filler to patch up the base wood. 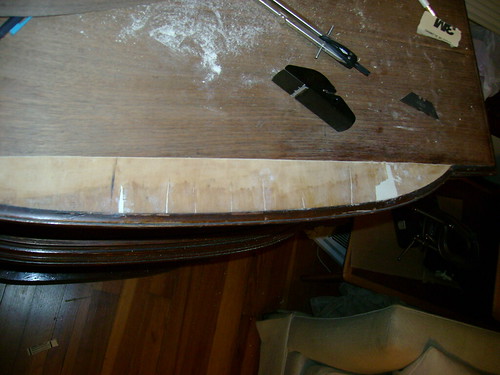 Here's the new QC veneer. 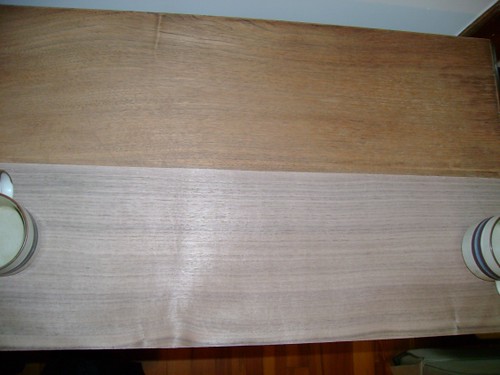 I picked a section with similar grain and carefully cut out a patch. I glued it down with cold press veneer glue. 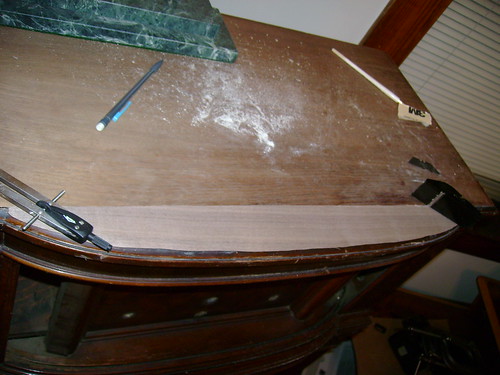 Next, I carefully trimmed up the overhang and sanded down the top. 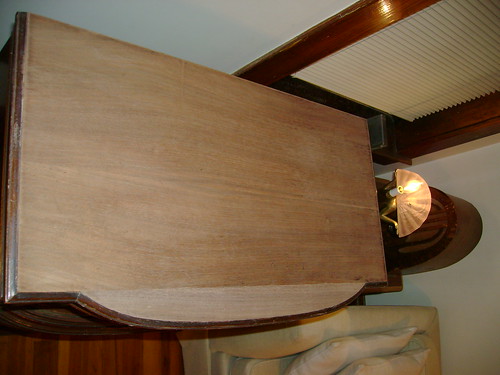 I filled in the grain with this water based Behlen stuff. 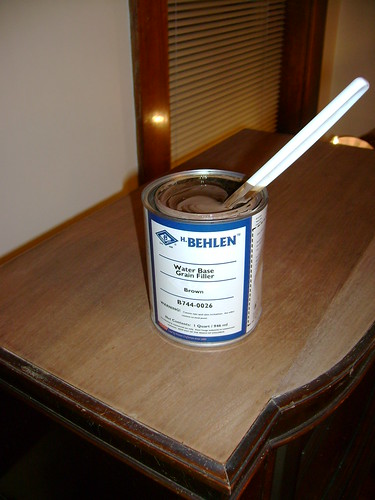 Finally, I use Mohawk "Perfect Brown" toning lacquer followed by Deft clear gloss lacquer. It had a tad more red than I expected, but it's good enough for me. "Medium Walnut" might have been a better match. 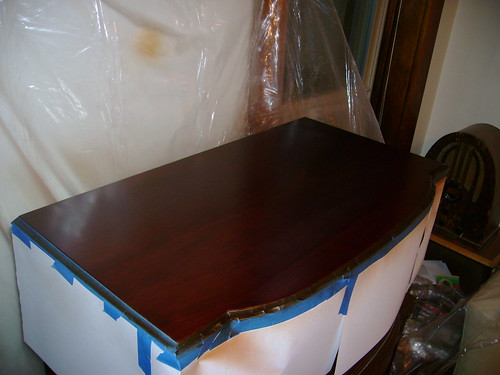 I still need to rub it down with some pumice and rottenstine. 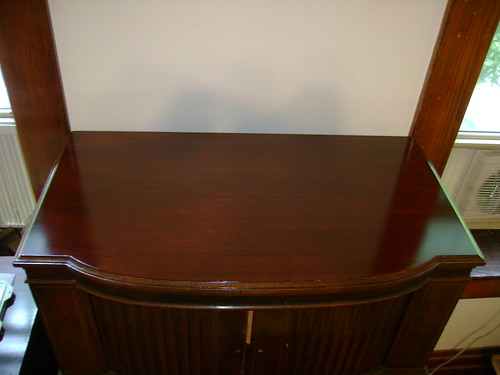 I recently discovered there are at least two other 15DXs out there including this one on ebay. They got one bid at $1,000 - it didn't meet the reserve though 
Last edited by bandersen; 06-19-2011 at 09:01 PM.
|
|
#21
01-04-2013, 09:42 PM
|
||||
|
||||
|
After a loooooong hiatus, I finally got around to recapping this set and firing it up.
Lots of bakelite blocks to restuff including one with a wire resistor. 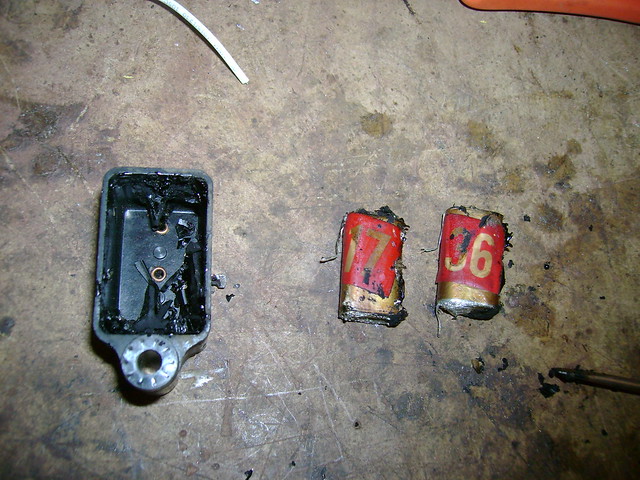 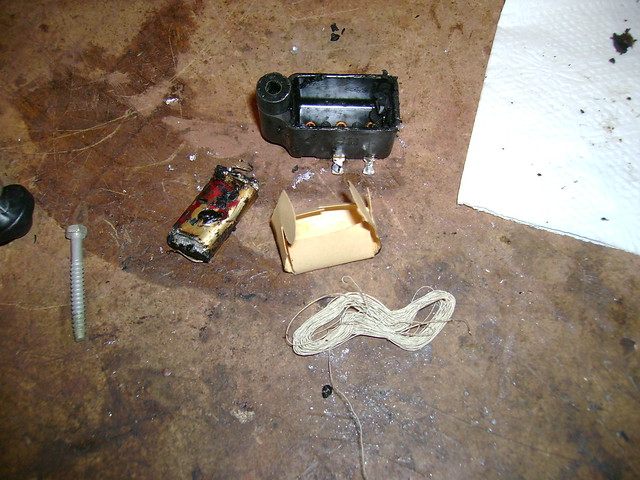 Some metal box caps too. 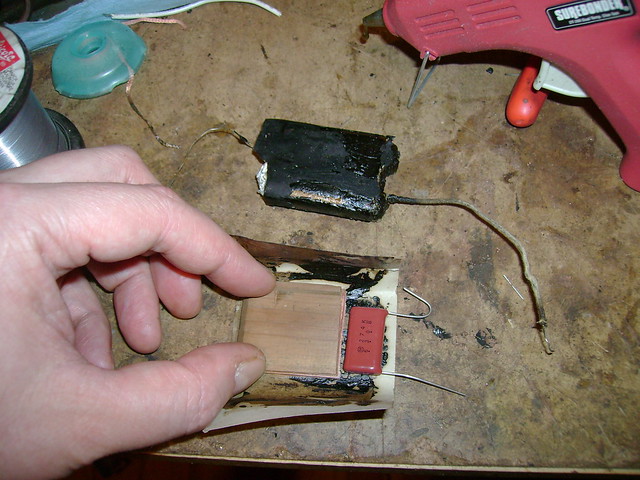  One big multi-section box cap too. All I had on hand were caps with stubby leads so I did what I could. 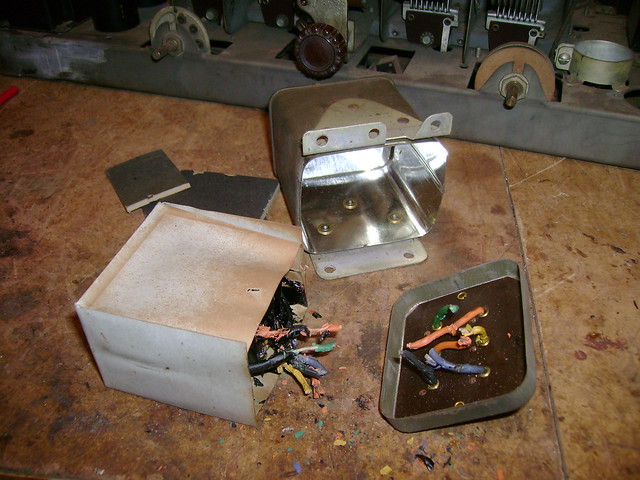  I also repaint the transformer shells and scored some copper caps I'll restuff for the filter caps. 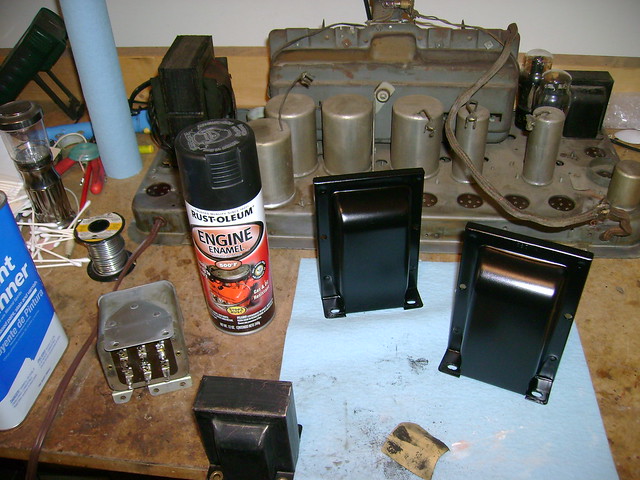 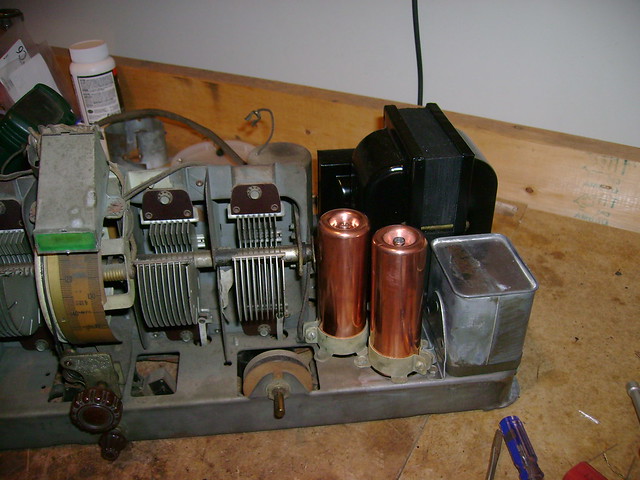 I tested out the original speakers and found one was seized up with rust so went with my backup up pair. They have some surface rust too, but work fine.   So after all that does it actually work ? Yes, yes it does  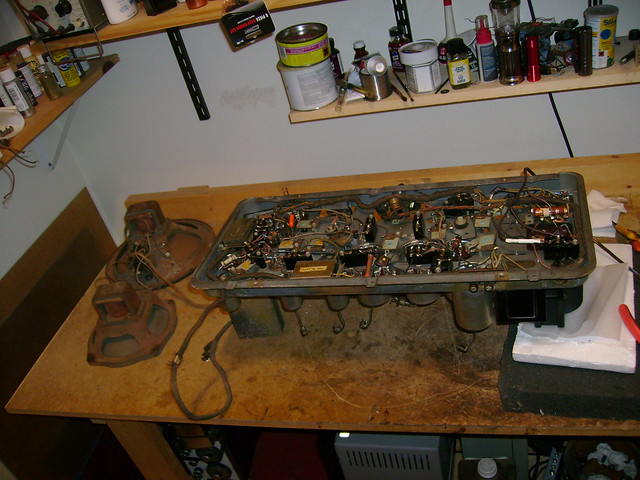 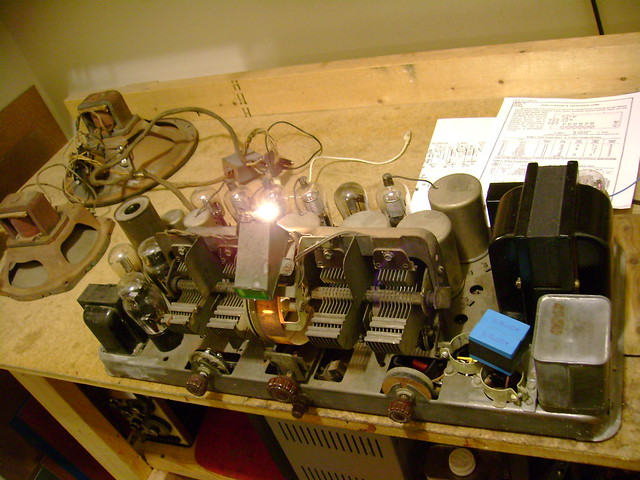 Lots of cosmetic work left to do, but now that it's working I'm more motivated
|
|
#22
01-05-2013, 12:33 AM
|
||||
|
||||
|
Nice radio & nice restoration job!
__________________
http://www.youtube.com/user/radiotvphononut
|
|
#23
01-05-2013, 12:57 PM
|
||||
|
||||
|
Great job on quite a radio. I watched your YouTube video of the first fireup of this set. I'm betting a check of voltages, any resistor changes etc. required, and an alignment will help. Did you get the shadow meter ironed out? One thing I might try on that, once the set is aligned, would be to replace the 1000 ohm resistor with a 5K or so pot hooked up rheostat style, and try different settings to see what would get the meter to "close" almost all the way on your strongest local. Then you could measure the pot and replace with a fixed resistor. 1000 ohms might not be what this set wants any more?
__________________
Reece Perfection is hard to reach with a screwdriver.
|
|
#24
01-05-2013, 04:31 PM
|
||||
|
||||
|
Thanks. The shadow meter is sorta working, but it still doesn't close quite as much as I'd like. I've been considering tinkering with the resistor value but am a little afraid about burning out the coil.
|
|
#25
01-12-2013, 09:40 PM
|
||||
|
||||
|
I'm not happy with the performance of the replacement Wheeler speakers. So I've spent the week slowly patching together the original speakers and removing the worst
of the rust from them. I used GC service cement and coffee filter patches on the cones. I've managed to get the voice coils moving fairly well too Soon I hope to fire them up. If they do work alright, I'll probably get them reconed properly. 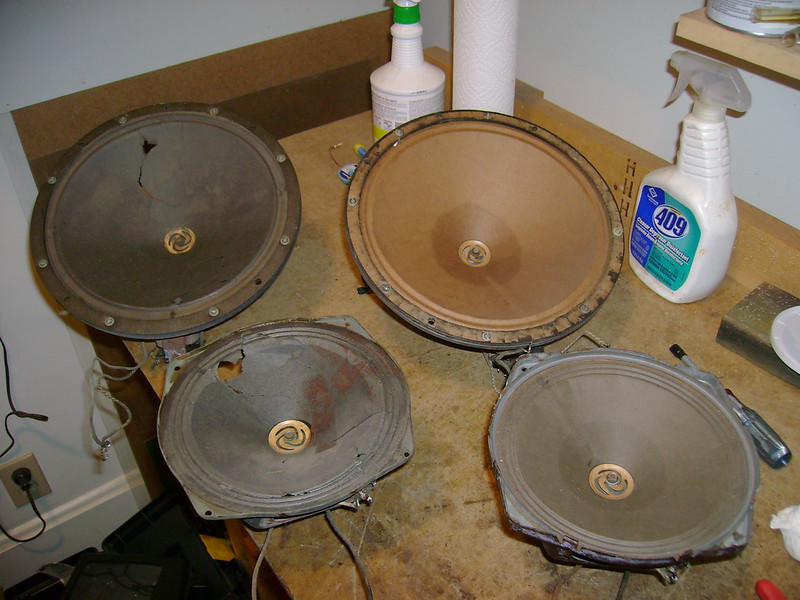 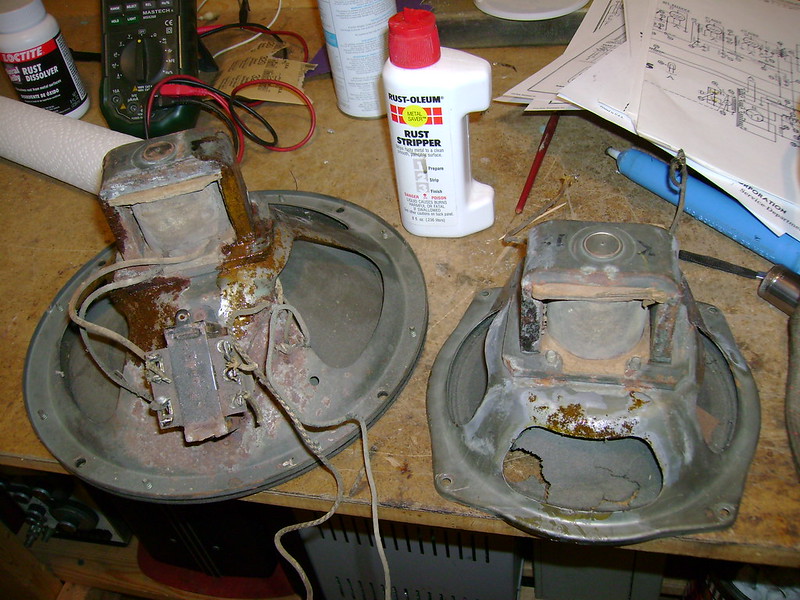 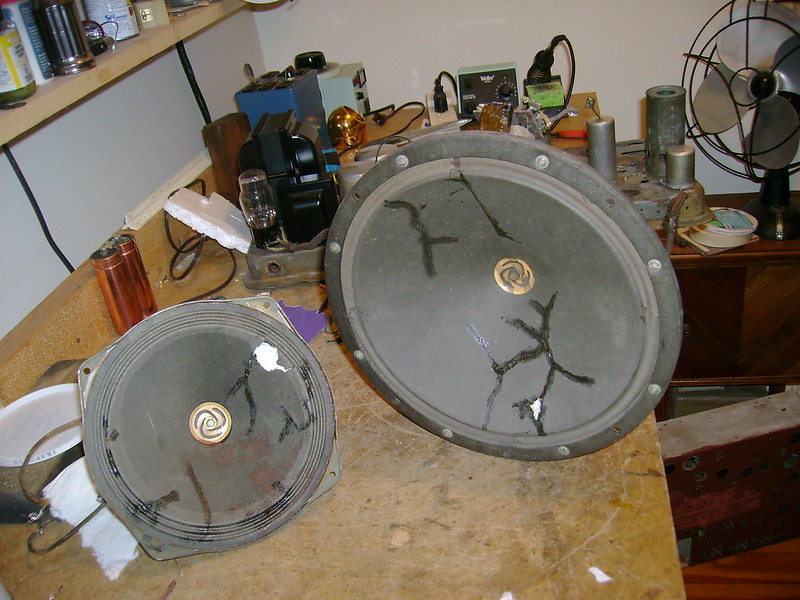
|
| Audiokarma |
|
#26
01-20-2013, 07:54 PM
|
||||
|
||||
|
I decided those old cones were going to have to come out. The voice coils are rubbing on rusty poles that I just can't get at. The larger was fairly easy. I just had to remove a few screws and carefully pry it out. The smaller required acetone to soften the old glue.
I think I can reuse the larger cone, but the smaller is pretty beat up. Does anyone have an opinion as to what replacement cone to use ? I measure about 7.5" O.D. I'm contemplating an 8" from MAT Electronics but am not sure if it will fit properly. http://matelectronics.com/prestashop...ccessories?p=3 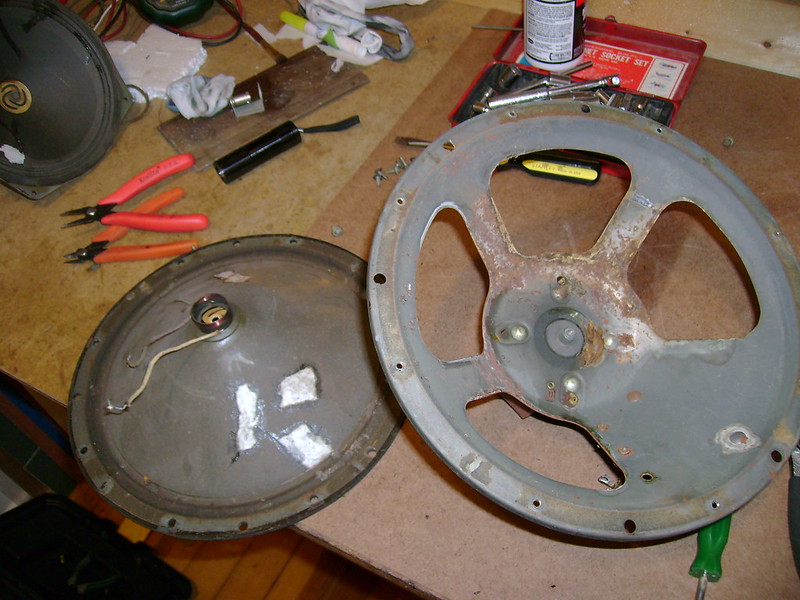 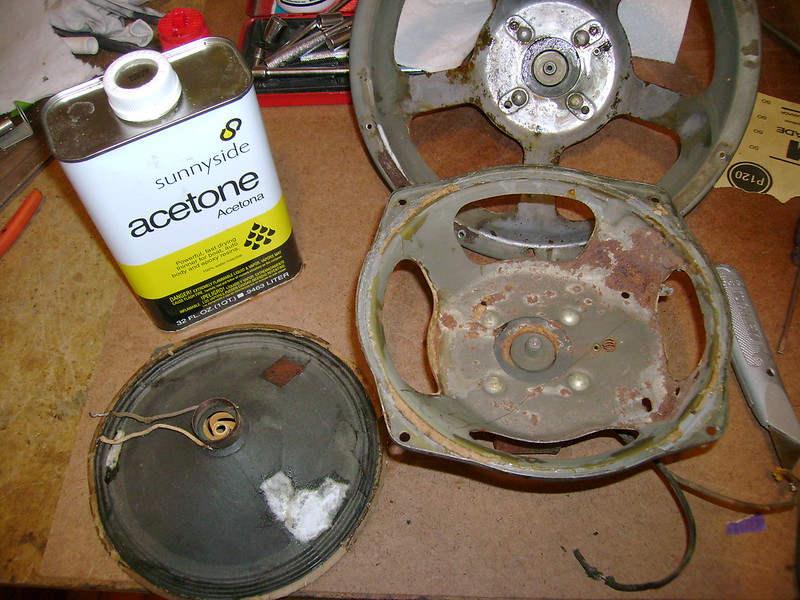 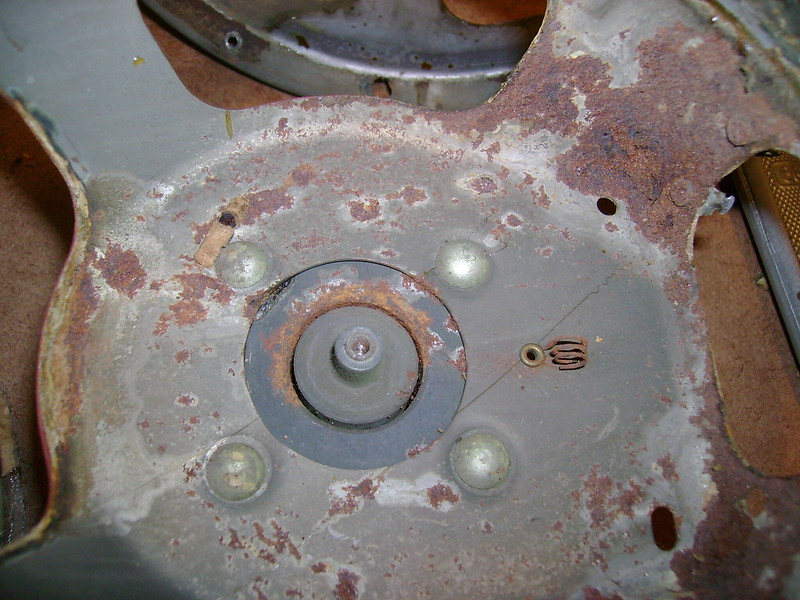
|
|
#28
01-21-2013, 11:17 AM
|
||||
|
||||
|
Getting the rust and dust out of the gap will be fun. I'd think hold the speaker face down and blow out the gap, then double a piece of sandpaper and go around in the gap again, blow out again. Flush out with electronic cleaner.
__________________
Reece Perfection is hard to reach with a screwdriver.
|
|
#29
01-21-2013, 01:44 PM
|
||||
|
||||
|
I went ahead and ordered some cones and other various speaker supplies. If the cones don't fit, I'm sure I can find another use for them.
I'm making good progress with Rustoleum liquid rust stripper and sandpaper.
|
|
#30
01-21-2013, 02:07 PM
|
|||
|
|||
|
After you get the rust out of the gap, be sure to check the gap width all the way around. If the pole piece is not centered it could still scrape on the voice coil. Centering the cone in the gap should not be a problem since the spider is part of the cone, and has to bolt to the pole piece. In a modern speaker you use shims to center the voice coil then after it is glued up you remove the shims and glue the dust cap on. The glue used on the cone for the voice coil, spider, and dust cap is a cyanacrilate (AKP?) with an activator so that it sets instantly. Like a super glue that when you spray on the activator it dries even faster as in instantly. The edge of the cone is attached with the AKP glue to the frame, but since you cant use the activator you have to hold it in place. To hold it in place I use a flat ring and clamps. Once glue is applied you use a flat ring and clamps to hold the edge while it dries. A more flexiable glue (it looks like elmers glue, and dries clear) is used on top of the cone at the edge for any gaskets, and along the edge slightly down the cone for the flexiable cloth part of the cone, if there is one. I havn't rebuilt a speaker in years, but I still have a complete set of the flat rings and a little turntable to make the job easier. Look closely at how much of the voice coil can be seen above the pole piece this is critical in determining how deep the cone should be. On a modern speaker it was 1/4 inch I think. The idea was to center the voice coil vertically with the pole piece to provide equal travel in and out of the cone. Good luck.
|
| Audiokarma |
 |
|
|


 Linear Mode

