
|
|
|
|
|
#1
 10-03-2010, 11:33 PM
|
||||
|
||||
|
If you want the job done right do it yourself.
I purchased a GE 810 restored and working, only to find the soldering and terminal work sloppy, messey and quite ugly.What caught my eye was the modifications, a whole mit full of extra parts around the horizontal output socket, the poor soul must have really fought with the bias circuit, albeit the set
worked but how?. My instinct was to check and verify that the tubes are the correct ones, well the horiz out is a spanking N.O.S. GE 6GB6, but wait a minuit this tube has all the pins connected on the base, the schematic and my RCA receiving tube manual shows a 6GB6 with two pins not connected and on the tube base. When you have a manufacture that saves money and space by using unused terminals on a tube socket for a convenient hookup post and a revised tube is installed you can see where this can go. So i reduced the part count to what the diagram called for and put in an earlier 6GB6, suprise suprise the average plate is current RCA tube manual text book perfect. a quote from Ronald Regan "Trust with verification" my quote "Get your hands on a RCA receiving tube manual!". 
|
|
#2
10-04-2010, 08:12 AM
|
||||
|
||||
|
Yeah, these early GE tubes sets seem to be troublesome- Eric, I don't blame you for not working on that 803's tuner. I believe it has the same as the 802 that I worked on. After going through so much grief to just get that set running, I wasn't too happy to power up the tv/fm audio section only to have it fizzle out less than a minute later. Then I found out that whole section of the tv is basically a sealed unit-yey!
I also recently recapped a GE locomotive, and while all the voltages are in line, it has terrible signal problems, and EVERYTHING about that chassis is HOT! Probably one of the most dangerous hot chassis sets I've worked on as it is all so crammed in. I'll be curious to see how this 810 looks/performs. I already know how the cabinet will turn out, though......
|
|
#3
10-04-2010, 10:38 PM
|
||||
|
||||
|
Here's the one capacitor that has me a little puzzled. It's shaped like a big mica cap, but I think it's molded paper.
I downloaded the Rider's from the ETF and there's no capacitor listed as 0.05 @ 400v. However, under the "specialized replacement parts", there is a 0.047 @ 600v molded paper cap listed. I need to trace out the wiring to confirm if this is the cap I'm looking at. I wish Riders's had the handy component location pictures like Sams does. 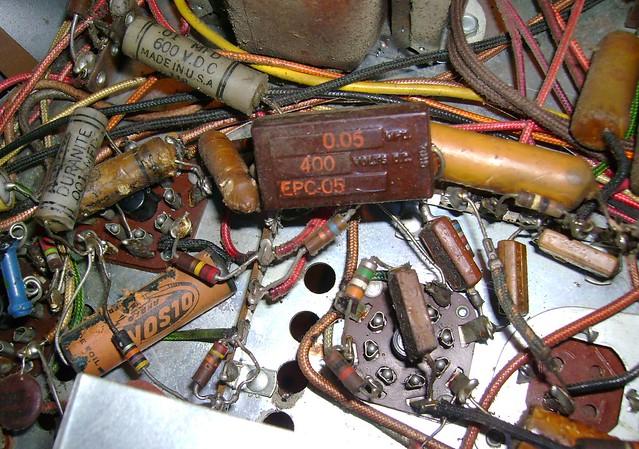
|
|
#4
10-04-2010, 11:04 PM
|
||||
|
||||
|
Yeah, that's a molded paper cap. Typically, if I see one of those with a value of say, .001 mfd, I go ahead and replace it during recapping. I never understood that-why they made paper caps in the shape of micas-then you see things like molded paper .001 and a tubular .001 in the same set, same voltage rating. Wouldn't it have been easier to go with a single vendor for that one cap value?
|
|
#5
10-04-2010, 11:38 PM
|
||||
|
||||
|
Upon closer inspection that appears to be a replacement so maybe it was a tubular to begin with.
It's C37 - part of the vertical integrator along with C38 just above and to the left. Both are 0.01 on the schematic. Unfortunately, C37 is missing from the Riders parts list. I suppose 600v is a good guess for the voltage. I bet 0.05 instead of 0.01 wasn't doing the vertical any good! It turns out that what they call 'molded paper' caps in the parts list, are the bumblebees. Last edited by bandersen; 10-08-2010 at 11:05 PM.
|
| Audiokarma |
|
#6
10-05-2010, 11:21 AM
|
||||
|
||||
|
I did more poking around and found a few more replaced caps. The soldering job was good, but most of the values are off. For example a 0.062 uF in the vertical sweep was replaced with a 0.05 and an associated resistor changed from 82K to 47K.
I plan to put everything back according to the schematic. Parts are on the way from Mouser...
|
|
#7
10-07-2010, 09:04 PM
|
||||
|
||||
|
Fedex managed to lose my package of parts from Mouser
 I order from them all the time and have never had a problem before. The refinsihing supplies were also shipped using Fedex and are supposed to arrive Saturday. Hopefully, they'll make it here otherwise I'll move onto another project... Last edited by bandersen; 10-07-2010 at 09:12 PM.
|
|
#8
10-07-2010, 09:19 PM
|
||||
|
||||
|
How bizarre. The guy who lives below me just rang my doorbell and handed me my package.
I had spoken to him a few minutes earlier and he didn't have it. He says he opened his door to let a friend in and it was sitting on our front steps. Maybe it was delivered to the wrong address and someone just dropped it off without ringing either of our doorbells 
Last edited by bandersen; 10-08-2010 at 01:51 AM.
|
|
#9
10-07-2010, 11:40 PM
|
||||
|
||||
|
These UPZ series Nichicons will fit inside the old cans nicely
 Small size, high capacity, high voltage and rated for 105C. Small size, high capacity, high voltage and rated for 105C. One of them should be 10uF, but Mouser was out so I went with 18uF. The two black ones are low voltage higher capacity so I used a different series of Nichicons still rated for 105C though. 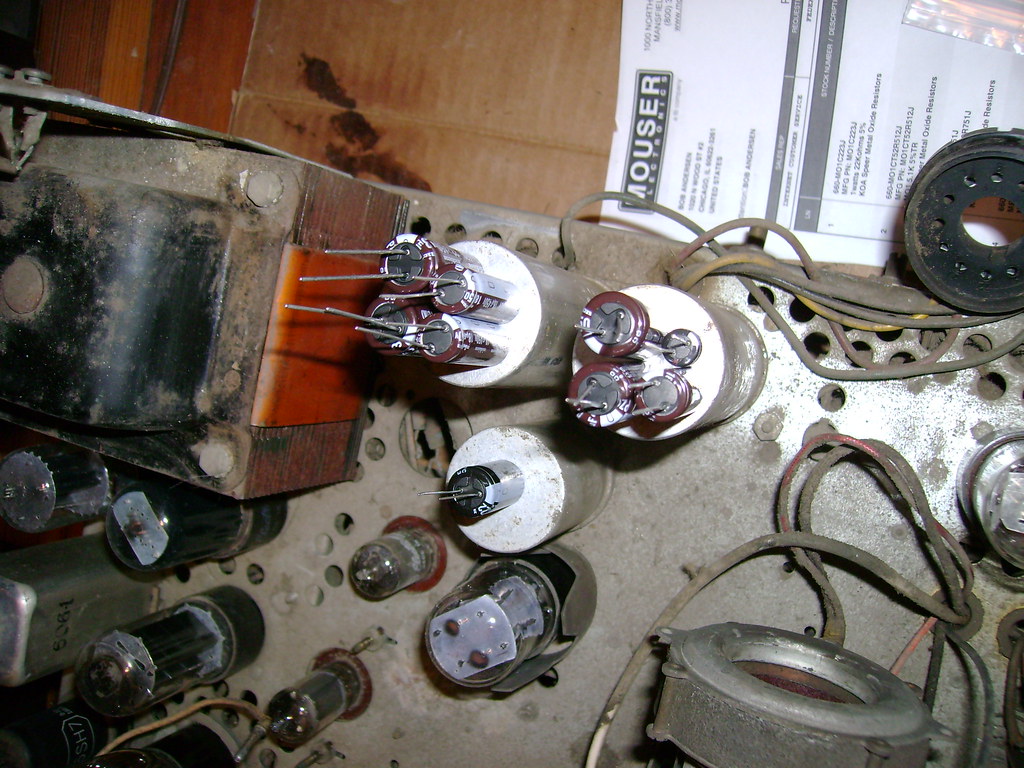
Last edited by bandersen; 10-07-2010 at 11:45 PM.
|
|
#10
10-07-2010, 11:58 PM
|
||||
|
||||
|
Hmmm. I wonder if I'm missing the HV cage ?
I can see tapped holes around the HV area that might secure one. No obvious discoloration or marks though. Perhaps it was removed long, long ago ? Last edited by bandersen; 10-08-2010 at 12:02 AM.
|
| Audiokarma |
|
#11
10-08-2010, 12:52 AM
|
||||
|
||||
|
Yes, your HV cage is missing. I parted out one 810 chassis several months ago, but didn't save that part...
|
|
#12
10-08-2010, 09:04 PM
|
||||
|
||||
|
Aw, nuts! I posted in the classifieds - hopefully someone has one. Otherwise, I'll fabricate something.
Here's a dry run of the new veneer. 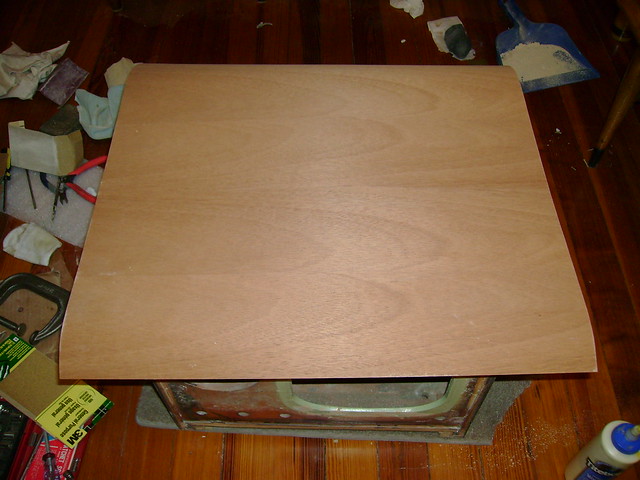 I'll let this diluted glue dry overnight and iron it on tomorrow. 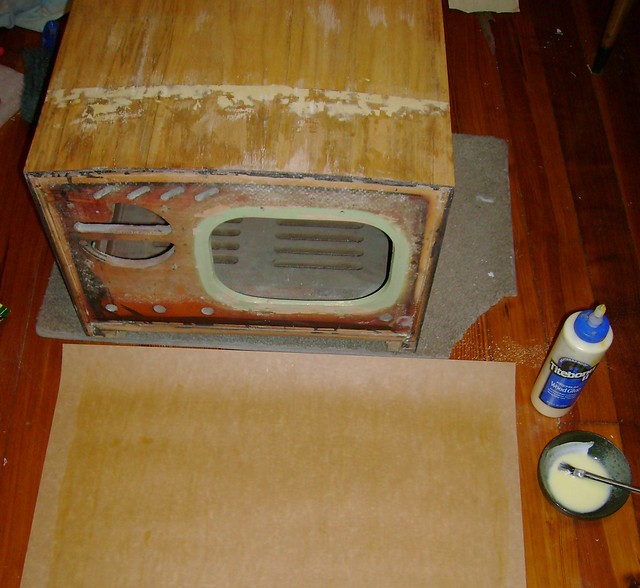
|
|
#13
10-10-2010, 02:52 AM
|
||||
|
||||
|
I'm making good progress on the cabinet this weekend.
First up, I stripped it using a citrus gel stripper by Zinsser. 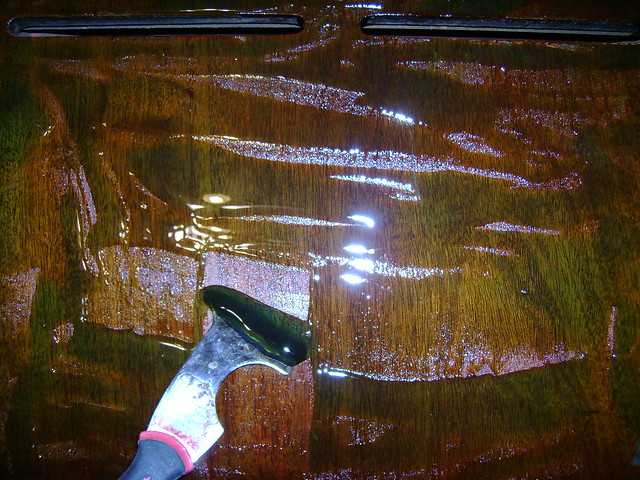 Then, a liquid stripper and steel wool to get any remaining finish. 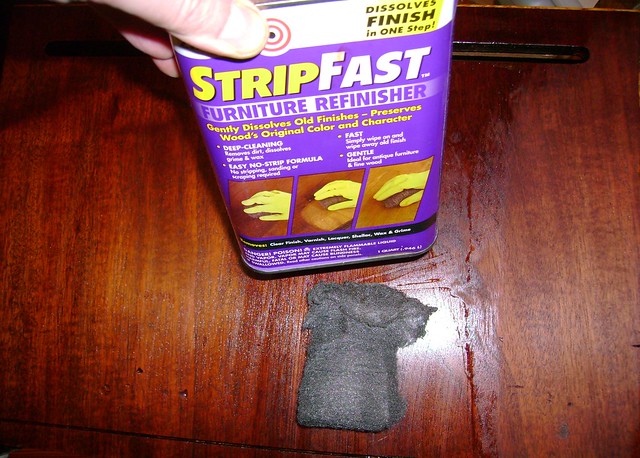 Than, a neutralizer. 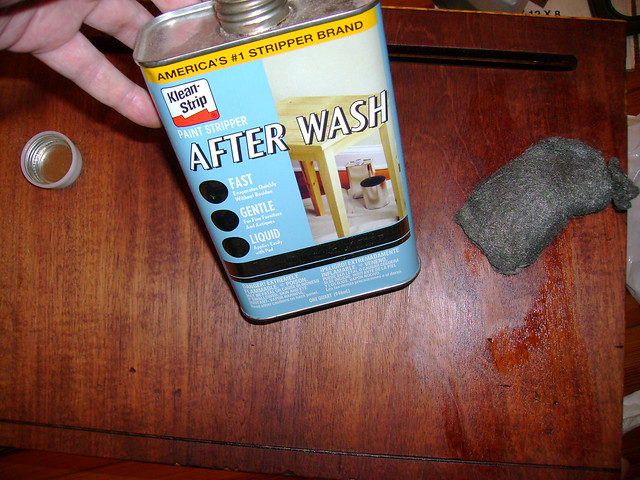 I coated both the top substrate and the new veneer with a couple layers of diluted Titebond II wood glue. After it dried overnight, I ironed it on and trimmed the excess. 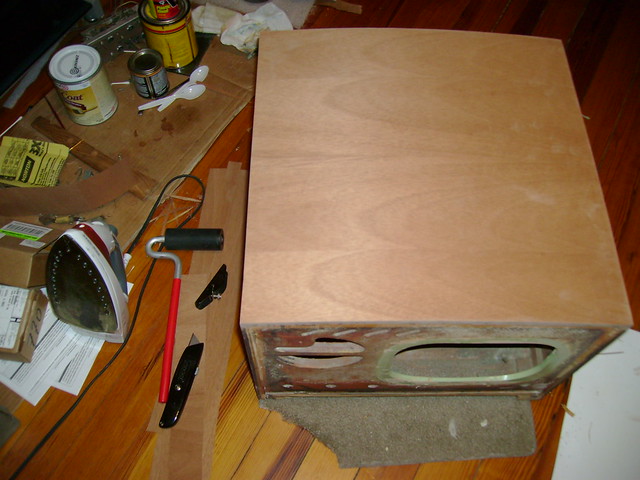 I'm going to use grain filler this time. I've used multiple coats of shellac and sanding before, but this Mahogany veneer has a really open grain and it takes forever. The Behlen water based stuff is easy to apply, no fumes and cleans up easily. 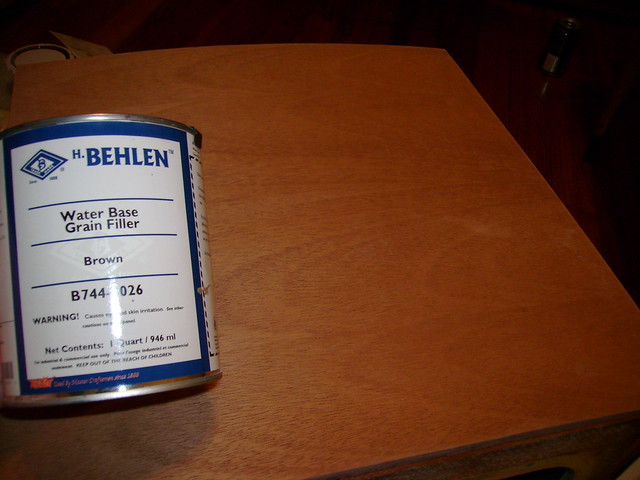 I worked it in across the grain with an old credit card. I'll let it dry for a while and sand it lightly. 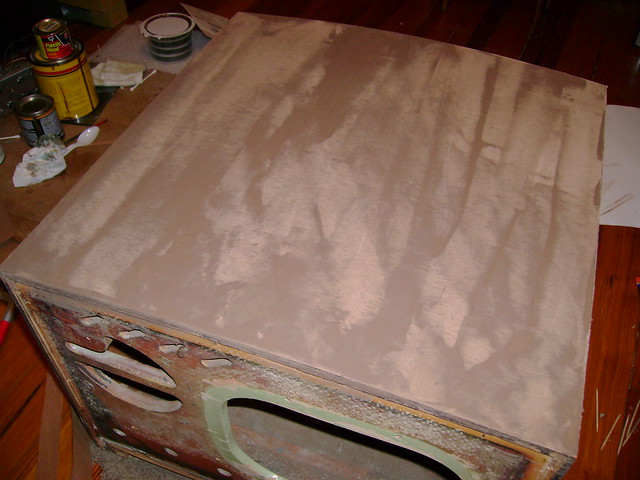 Finally, my toner lacquer showed up. Van Dyke Walnut is a great match as I had hoped  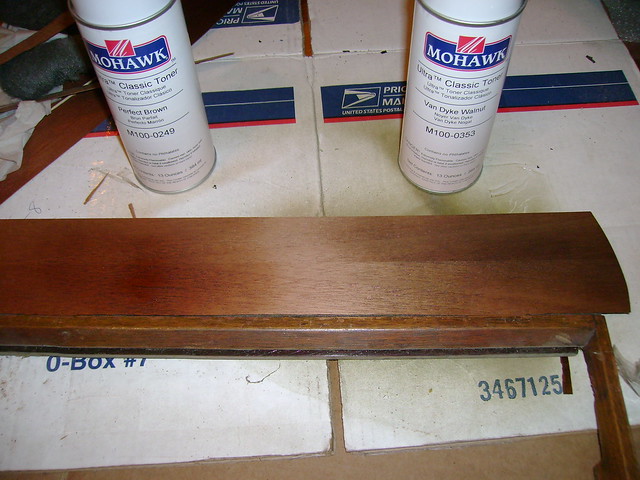
|
|
#14
10-10-2010, 08:03 PM
|
||||
|
||||
|
Quote:
John
|
|
#15
10-10-2010, 10:34 PM
|
||||
|
||||
|
Quote:
Quote:
|
| Audiokarma |
 |
|
|


 Hybrid Mode
